
Settings
Settings
The Settings panel is divided into three tabbed sections:
Simulation Defaults
Weather Defaults
Help
Simulation Defaults
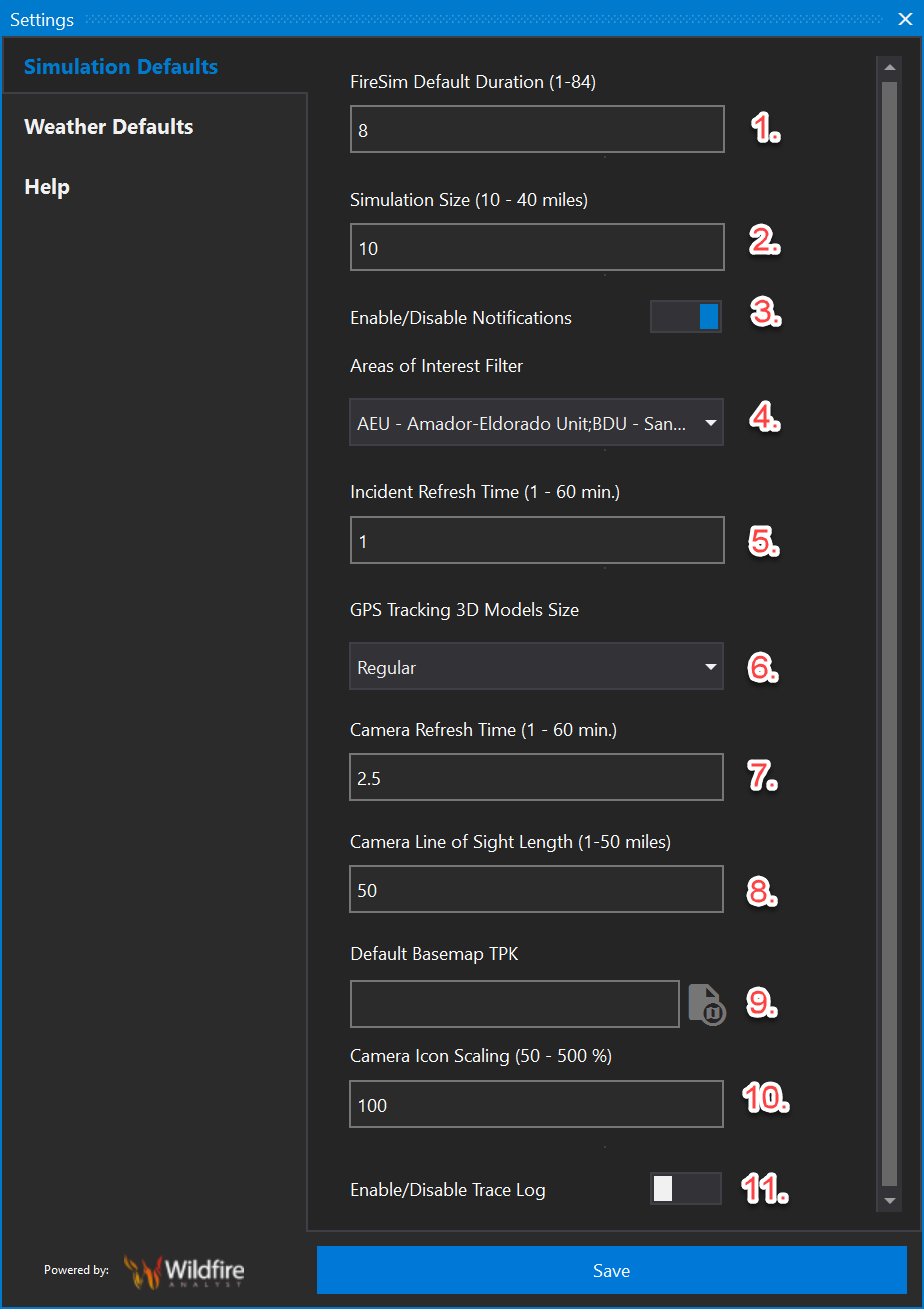
Enter the default duration for a FireSim simulation.
Enter the default Simulation Size. Typical users should leave this set to 10 miles. If you run a simulation in an extreme scenario, you may find that the edge of your simulation is cut off in a straight line. This indicates that the simulation size was too small for that simulation. In this scenario, slightly increasing the Simulation Size and re-running the simulation will result in a complete simulation. Please note, higher simulation sizes will take longer to process.
The Filter Notification By Unit tool allows you to change the new incident notification messages that appear in the bottom right corner. By default, this is set to all CAL FIRE units. You will only receive notifications for units selected. If you prefer to turn off all new incident notifications, use the switch to the left of the selector list. This will also work with the areas of interest filter, located below.
Areas of Interest Filter: Used throughout the application.
Incidents refresh on the map and in the incident list automatically. By default, they refresh every minute, but you can change the refresh rate here.
GPS Tracking 3D Models Size allows you to change the size of the 3models on the map.
ALERTWildfire cameras automatically refresh every 2.5 minutes by default. This can be changed here.
ALERTWildfire camera sight line length can be changed here. Sight length is set at 50 miles by default.
If you have a TPK file that you wish to use as a default basemap, that can be selected and saved here. TPKs are the ESRI tile package format that wrap a set of tile images into a single file that can be shared. TPK basemaps typically display more quickly than other basemaps and reduce internet bandwidth demands. They are ideal for using on a mobile device.
Camera Icon Scaling: change the camera icon scaling here.
Enable/Disable Trace Log: enable the trace log to help trace connectivity issues.
Remember to click Save after making any changes on this panel!
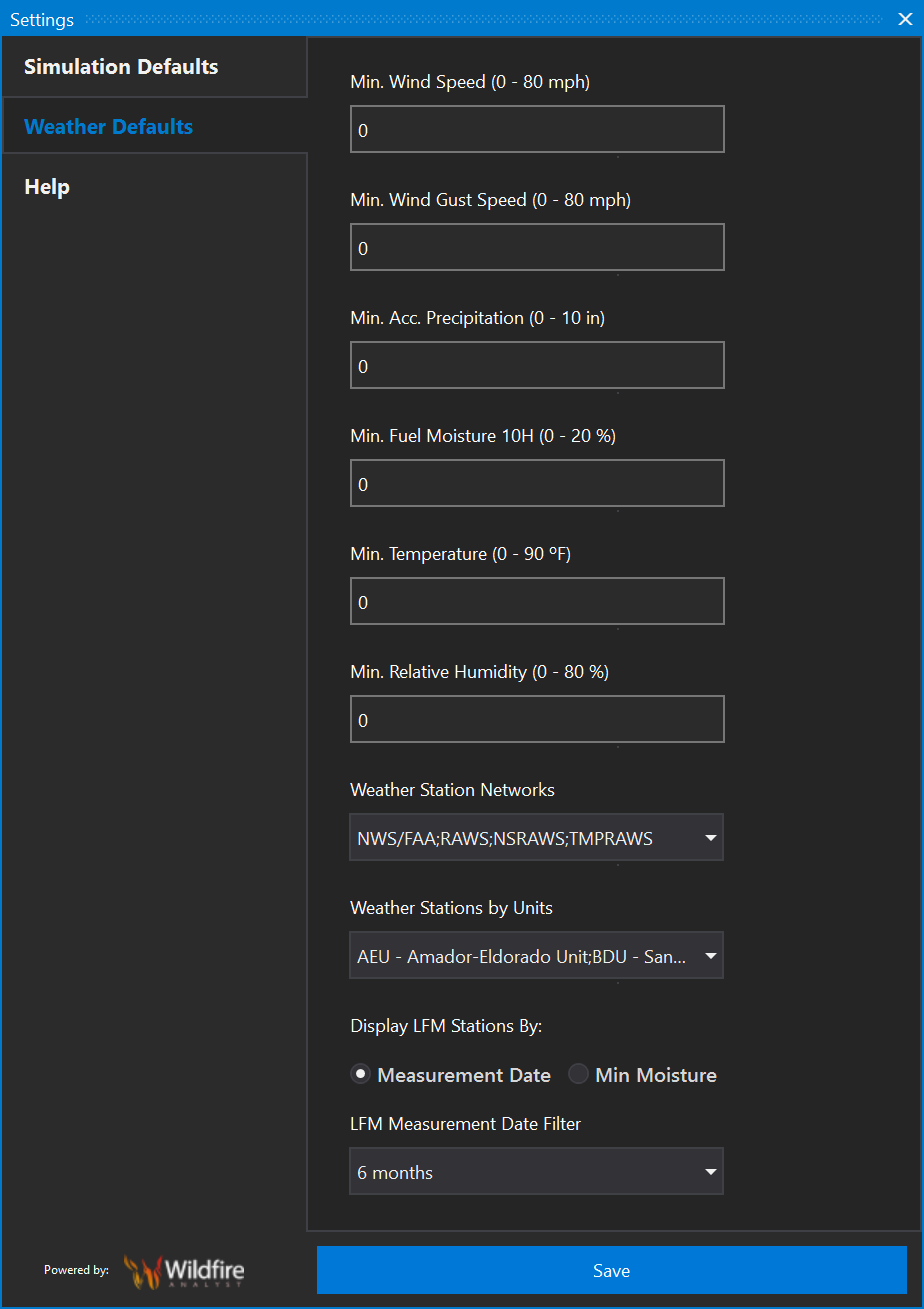
Weather Defaults
The following settings filter which weather stations appear on the map. If you do not want to see weather stations with winds under a certain value, enter that value in the minimum wind speed field. For example, if you are interested in seeing only weather stations with wind speeds greater than 10, enter 10 in the box. Any weather station that does not meet this threshold will not appear on the map. Set to 0 to set back to defaults to see all weather stations.
Help
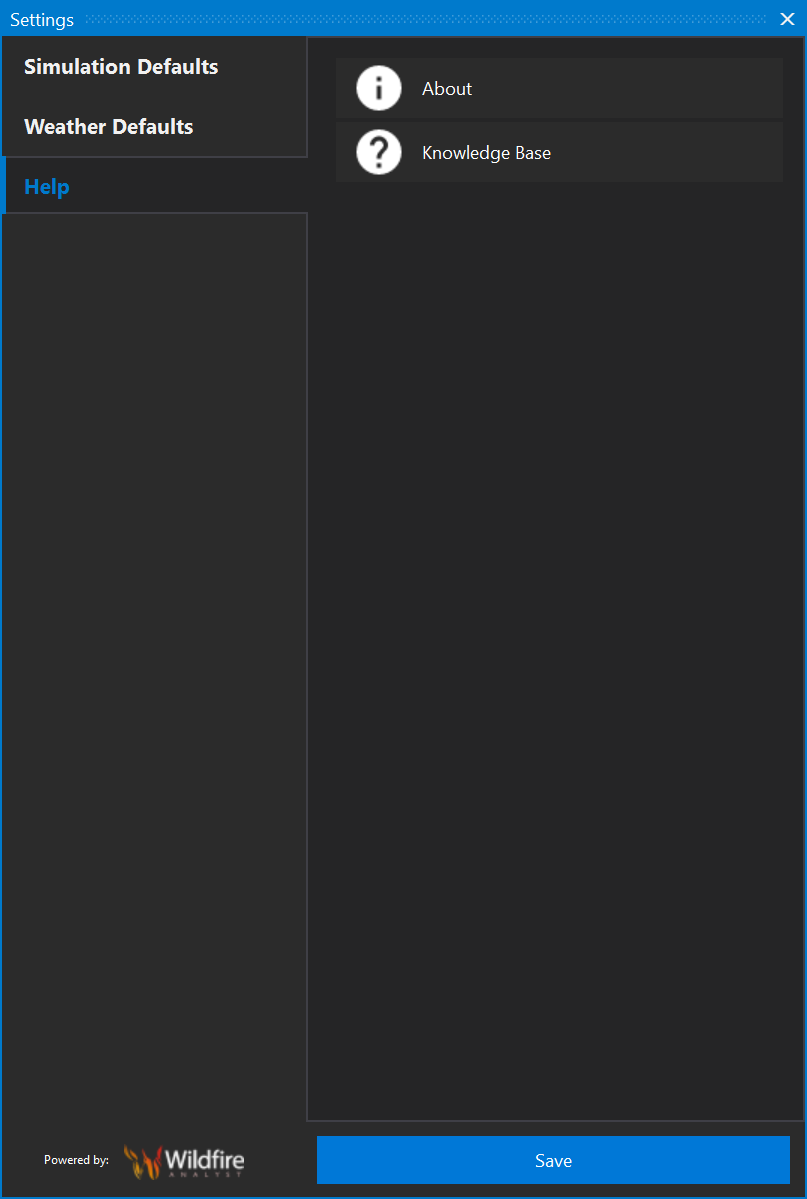
The Help tab gives you access to information About Wildfire Analyst Enterprise.
There is also a link to the Wildfire Campus, which is Technosylva's online education site. The online campus has training modules that cover the basics to more advanced capabilities of Wildfire Analyst Enterprise.
User manuals in PDF format are also available.